Since getting my life organized is one of the things on my not-so-formal “list” of “resolutions”, I thought I’d start off by giving you an idea of my personal creative space and how I have it organized right now. I enjoy taking virtual tours of other people’s craft rooms, and while a video would be my preferred method of giving you this tour, my technology skills haven’t quite reached that level yet. (Another thing on my “list”…) So we’ll opt instead for the photo version.
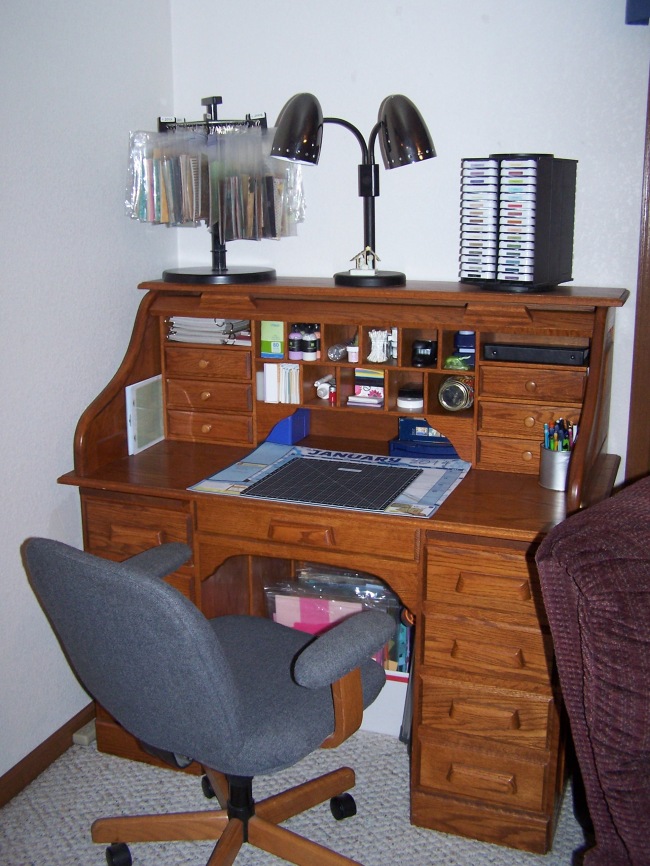
Here is my main creative space. We have a small rental home at the moment, and I no longer have the luxury of my own craft room, so this is my own personal corner of the living room. This roll-top desk was inherited from my Grandma, and is one of my most treasured possessions! She was a scrapbooker as well, LONG before it was popular, and spent many hours creating at this desk. So I LOVE the time I can spend sitting here, and I love the desk itself. As you can see, there are tons of little nooks and crannies for me to hide my stuff away. And if it really gets a mess, I can always just roll the top down to hide it. It even locks!
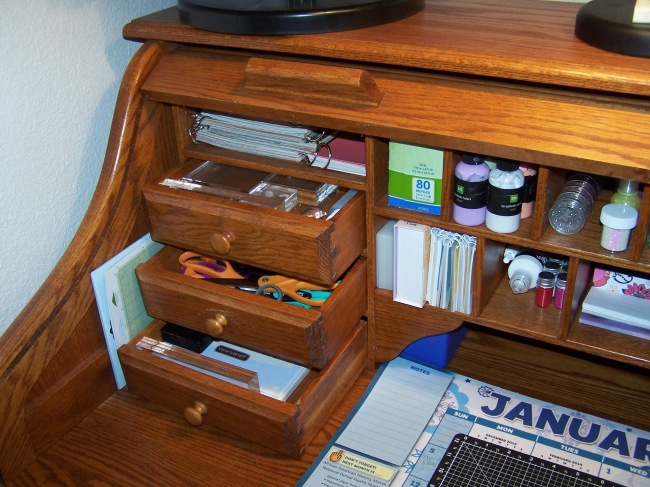
Here’s a closer up look at the left side of the desktop. In the top left corner are my paper samplers. I keep one paper sampler from every CTMH catalog on a ring here on this shelf, as well as the color swatches of our cardstock. This gives me an easy reference tool anytime I am looking for a certain paper or color for a project. Below that are the drawers that hold my acrylic blocks, stamp scrubbers, and scissors. The cubbies along the front of the desk hold various little scrap supplies…glitters, embossing powders, paints, cricut supplies, etc.
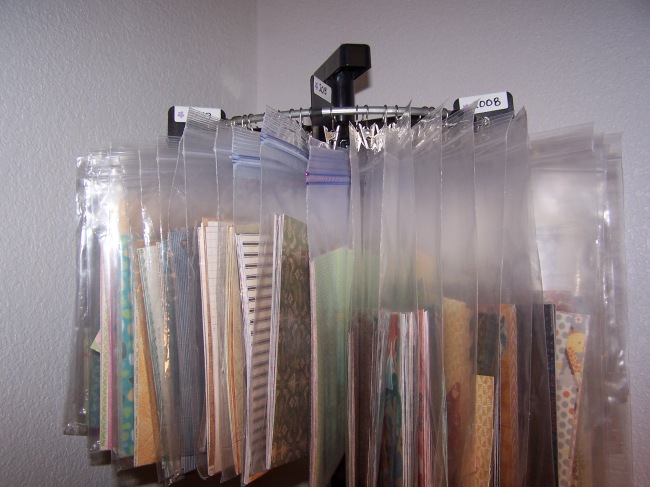
Up on top of my desk is where I keep the rest of my paper samplers. The Clip-It-Up has been great for this purpose! I usually buy 4-6 paper samplers from each catalog. So I take the one and put it on the ring as my reference tool, then the rest of the samplers get put into Ziploc bags and clipped up here. I love this system!
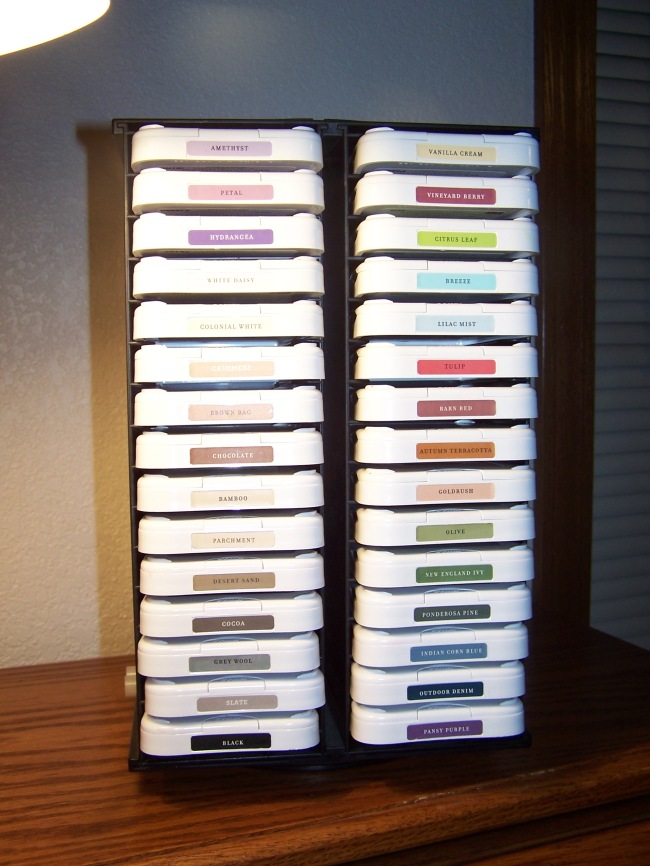
Also on top of the desk sits my CTMH inks organizer. I’ve played around with different ways of organizing my inks…and I don’t really have a favorite. Right now they are organized by the CTMH color families, with any of the retired colors I have up at the top. But I may go back to ROYGBIV (rainbow) order soon.
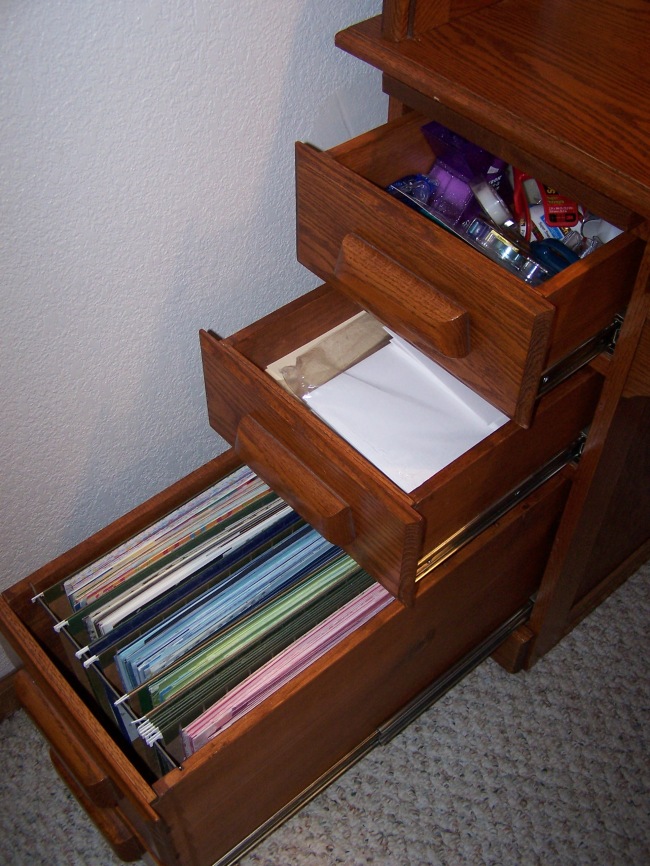
These are the drawers on the left-hand side of the desk. Top drawer is where I keep all of my adhesive supplies. Second drawer is full of blank card bases of all shapes, sizes and colors. The third drawer is my scrap drawer. (I may as well admit now that I am a MAJOR paper-a-holic!) These file folders hold all of my non-CTMH paper scraps that are about 8×10 or smaller. Each folder holds a color family, and then they are in the drawer in roygbiv order, with a “multi-colored” folder at the back. This makes it super easy to grab from this stash when I’m making cards, without ever having to get up from the desk!
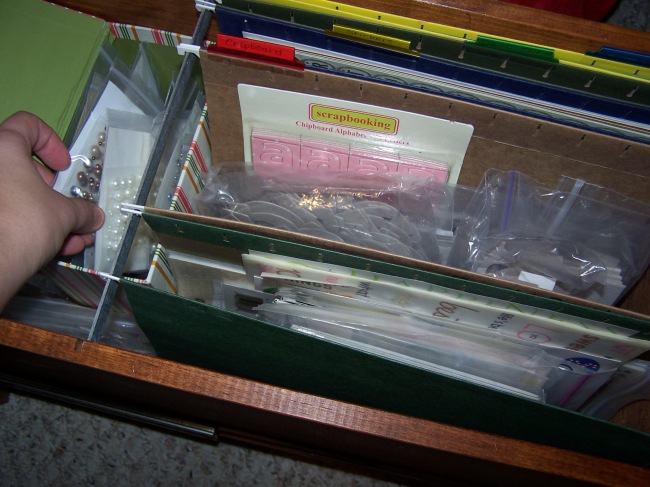
On the right-hand side of the desk is another file drawer. This one holds the majority of my accents and embellishments. The files are labeled by type. (Alphabet stickers, rub-ons, chipboard, etc…) And then the small box to the side holds all the small packages of CTMH stuff…pearls, brads, etc. I just keep those in the original packaging.
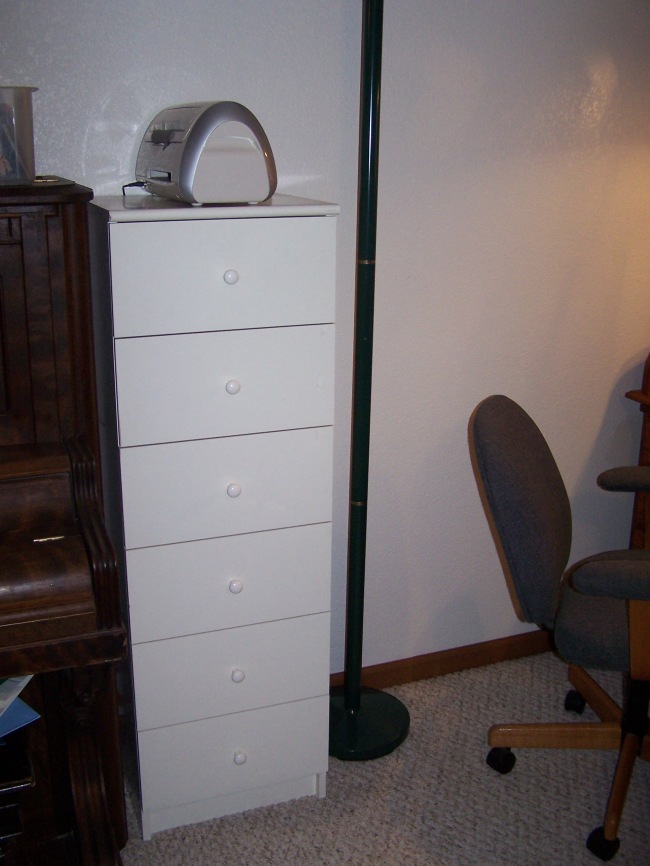
Right behind my desk is this great white storage tower that is filled almost entirely with my acrylic stamp collection! I really wish I could share information on this fabulous piece of furniture since it holds our CTMH MyAcrylix stamp sets perfectly, but this is another hand-me-down. I just happened to latch onto it after my Grandpa passed away, and very happily stumbled onto the surprise that it would hold my entire stamp collection! I have no idea what brand it is or where he got it.
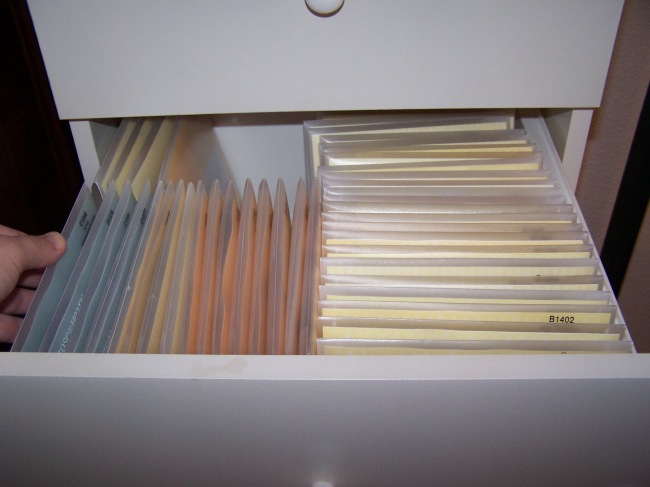
Most of the drawers look something like this. I still have my stamp sets organized by the old CTMH system where the colored insert indicated the category of the stamp set. So all my pink ones (sentiments) are together, all my yellows (Spring) are together, etc.
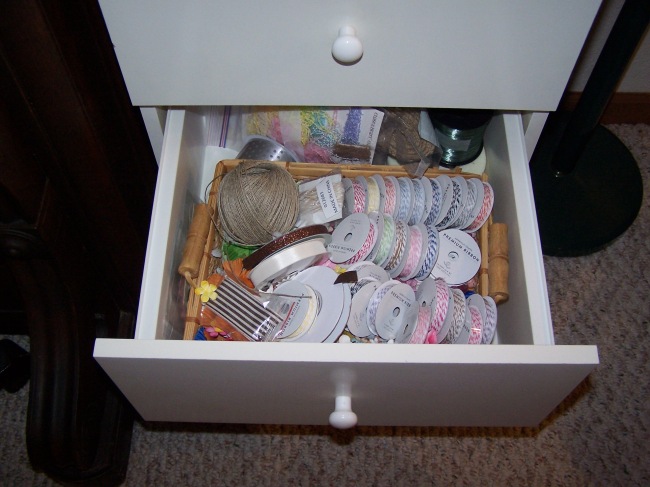
This is the exception to the drawers filled with stamps. This drawer near the bottom has a stabilizing piece of wood across the top of the drawer, and therefore the stamp sets don’t fit in it. So instead, I placed this little basket inside that holds my flowers, ribbons, baker’s twine, etc.
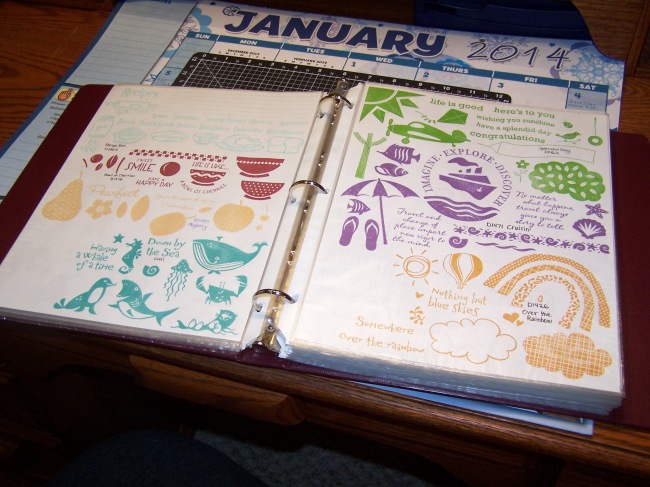
In the same way that I love having my paper samplers as a reference tool, I also have found it really handy to have this similar tool for my stamp sets! This is my stamp binder, where I have stamped every stamp set I own. It is organized by the same system as the stamps themselves…(CTMH’s old system of colored inserts) So all the sentiment sets are at the beginning, then there’s a section of summer sets, spring sets, animals/outdoors, etc. I’ve used solid white cardstock in these page protectors, and stamped on both sides of the page. I do each stamp set in a different color, making sure to put very contrasting colors next to each other so that it’s easy to tell them apart. Then each set is labeled with it’s name and number.
It took a while to put together at the beginning, but now it’s SO easy to keep updated. Any time I get a new stamp set, I just stamp it in the binder before it goes in the drawers. My stamps are getting seasoned too, so it’s a win-win! This binder makes it SO easy for me to just flip through and find the image I want without having to dig through all the stamp drawers. It’s also a great tool to have for going to crops and events! My customers can flip through it to look for a specific image, and I no longer have to stress out about which stamps I need to take along with me to a crop.
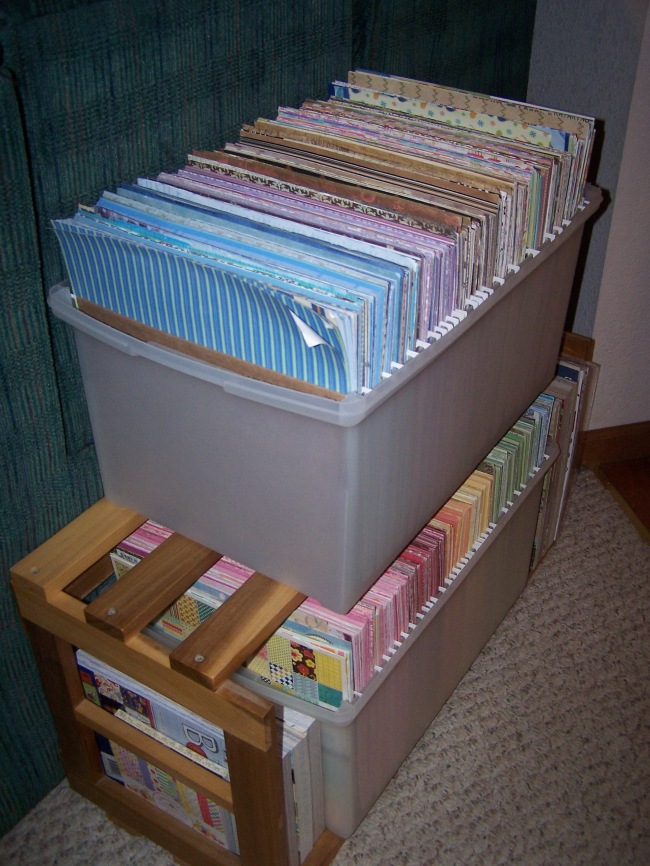
This monstrosity sits behind my couch in the living room. (I told you I was a paper hoarder!) This is my non-CTMH 12×12 paper. I actually have a pretty good system going for this, and I do know what I have. These are just your typical Walmart brand plastic file boxes, and the wooden crate is a piece my husband made years ago. I have so many papers that I had to come up with a really good system to keep them organized. This is what I finally came up with, and it works really well for me! First, I sorted my papers by color families. (pink, red, orange, yellow, green, blue, purple, neutrals, and multi-colored) Then, each one of those color families is divided even further into 6 different folders by type of pattern. (florals/botanicals, polka-dots, stripes, grid/geometric patterns, textured, and miscellaneous) I buy a lot of paper stacks too. (Well…I used to, anyway.) Some of them I have taken apart and divided out into my categories, some I haven’t. It just depends on the stack and how I plan on using it.
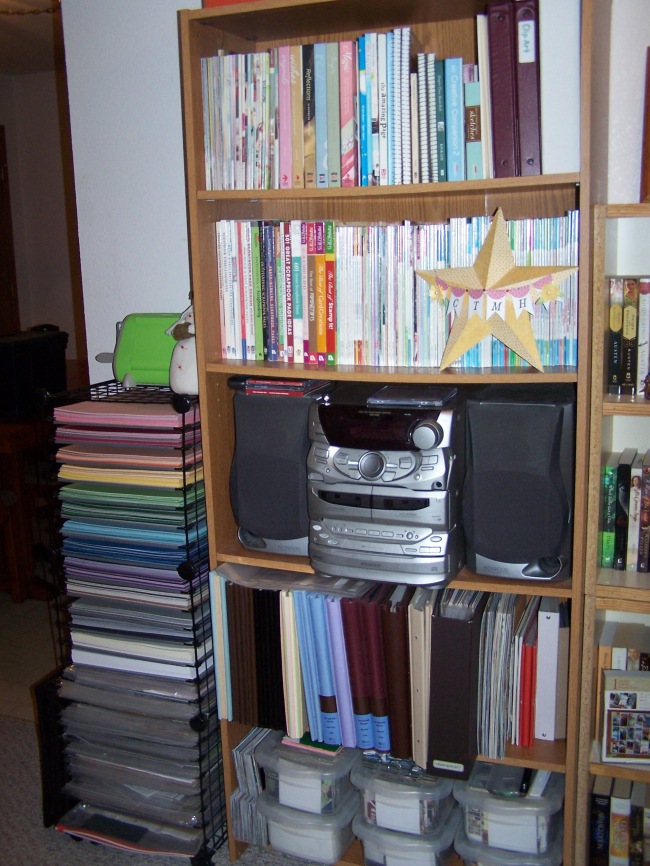
Lastly, here is the paper storage and bookcase that both sit in my hallway. This paper rack holds all my CTMH cardstock and paper packs. The bookcase is where I store all my idea books and magazines, yet-unused albums, etc. The bottom shelf is just pictures, pictures, pictures…all organized chronologically. I have a program on my computer for organizing all the digital pictures that aren’t printed yet.
And there you have it! Not a lot of space, but I think I use it well for now. These systems work well for me and make it pretty easy to keep things tidied up most of the time. 🙂
Stay in, stay warm, and happy scrapping!
Very nice Becky. I need to do this myself. I am thinking about turning the garage into a family room/office for me and the kids. Just not sure i want to leave my car out and scrape ice.
By the way I have thousands of photos i need tonwork on. I need to get me a new computer and a new scanner.